Add a file
To link to a file such as a PDF in your content block:
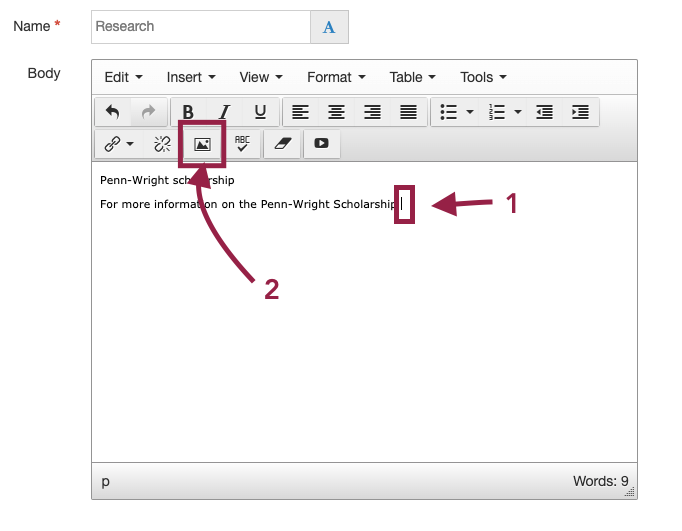
- Place your cursor where you want to insert a link to a file
- Click the "insert file link or image" icon (shown below).
Placing a file on your page is a two-step process.
First you must upload the file to your media library, then you must embed a link to the file on your page.
**If the file you want to place on your page is already in your media library, skip to step 2: Embed a file link on your page.**
Step 1
Upload your file to your media category.
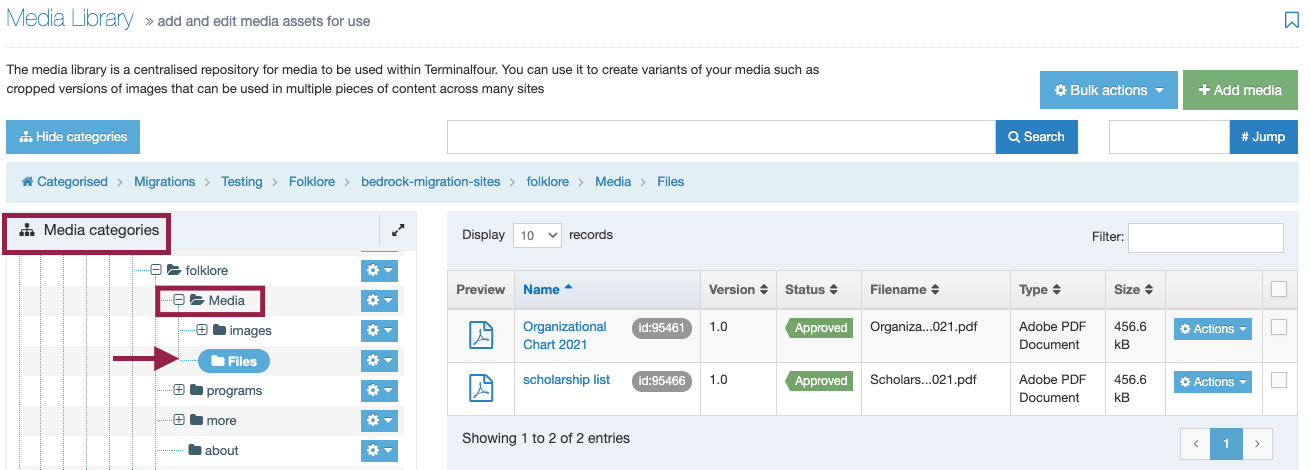
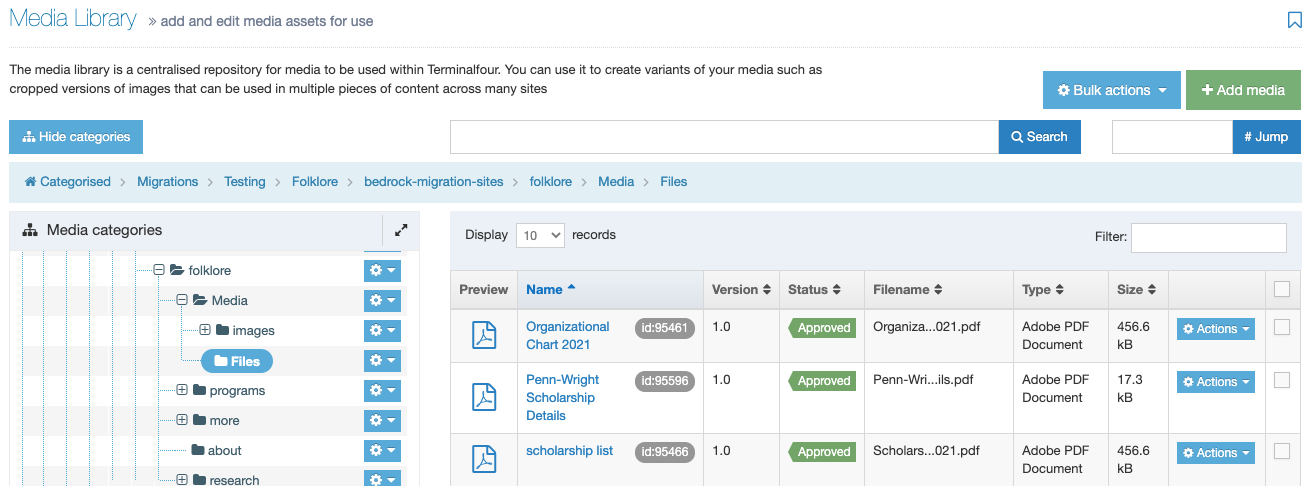
Locate the media library folder to which you want to upload your file.
Click the +/- symbols beside the folders titled "Categorized," "Production," "Memorial," and "Academic" or "Administrative" to locate your site's media library folder. Once you locate it, click the + symbol beside it to reveal all folders in your media library, then click on the folder you want to upload your file to. When you select a folder, it will turn blue and reveal all of its content on the right-hand side of your screen:
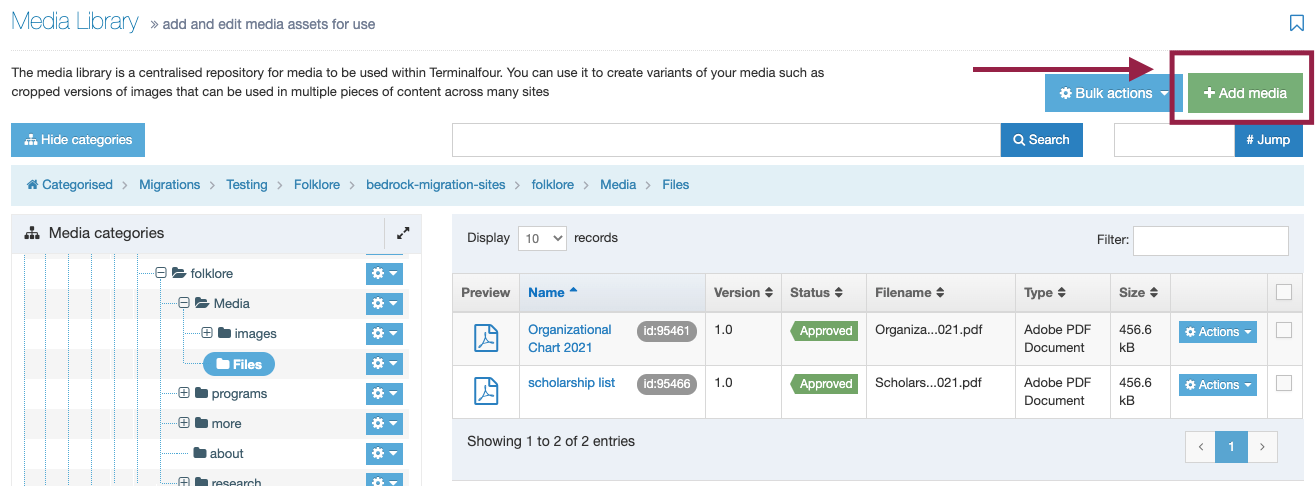
To add a new file to a folder,
click the green "+Add media" button in the top left corner:
You will be taken to the +Add media page, as shown below:
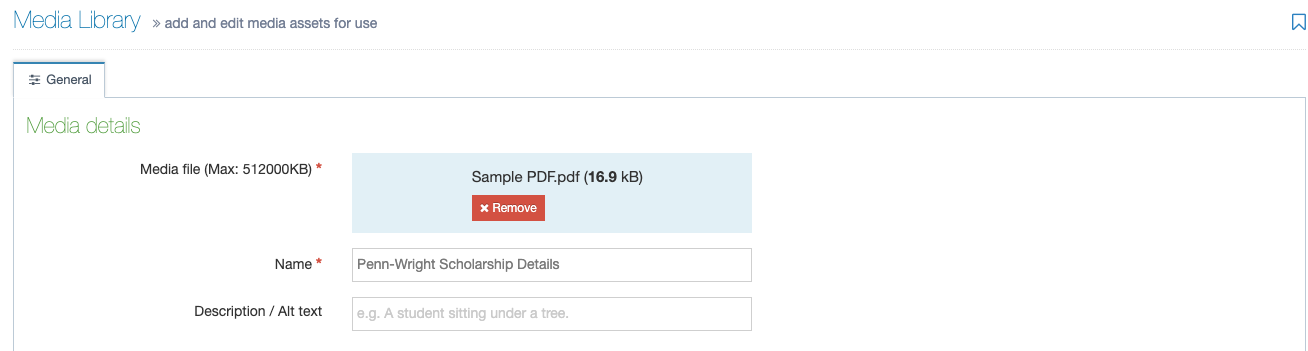
How to fill out these fields:
- Media File: To upload a file, you can either drag and drop the file into this box, or click in the "media file" box and you will be prompted to browse your computer to upload an file.
- Name: You should name your file something descriptive that will be easy for you and your fellow website users to search for and find later, and something that will make sense to anyone who downloads this file. A file name like "PDF_26" is not good file name, while "Penn-Wright Scholarship Details" is a good file name.
- Description / Alt Text: Describe what your document is here. This will tell people using a screenreader what the file is. It will also tell search engines what files you have on your page. Sample description: "Penn-Wright Scholarship application form.".
You can ignore the "Advanced Options," and optionally use the "Metadata" field to write a few keywords that will help people locate this file in your media library. Separate keywords like "grant application" with a comma.
Click the blue "save changes" button to save your file to your media library.
After you click save you will be taken back to your media library because, so far, all you have done is add your file to your page's media library. Now you must insert a link to it on your page.
Step 2:
Embed a file link onto your page
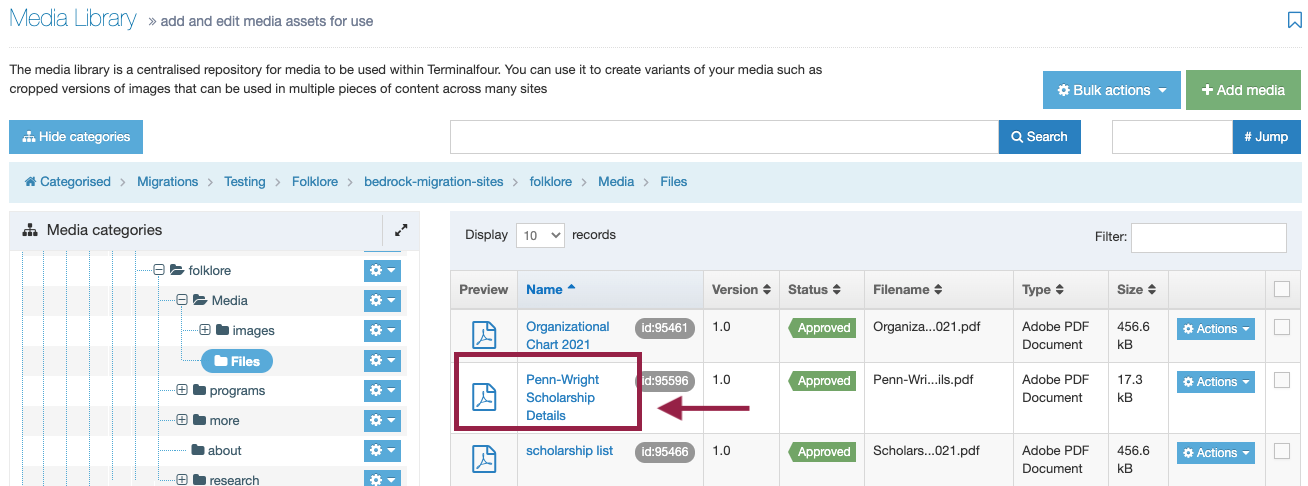
To embed a link to a file in your media library, locate the file in your media library and click on it. Clicking on it will embed a link on your page.
Note: If you are having trouble locating your file use the search bar at the top of your media library or see:
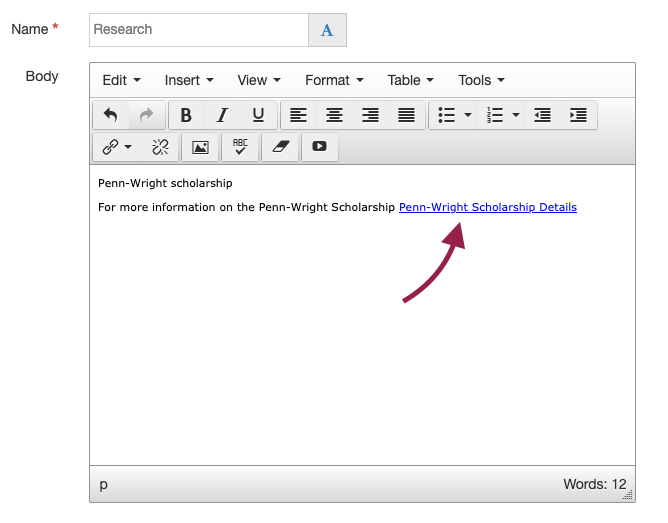
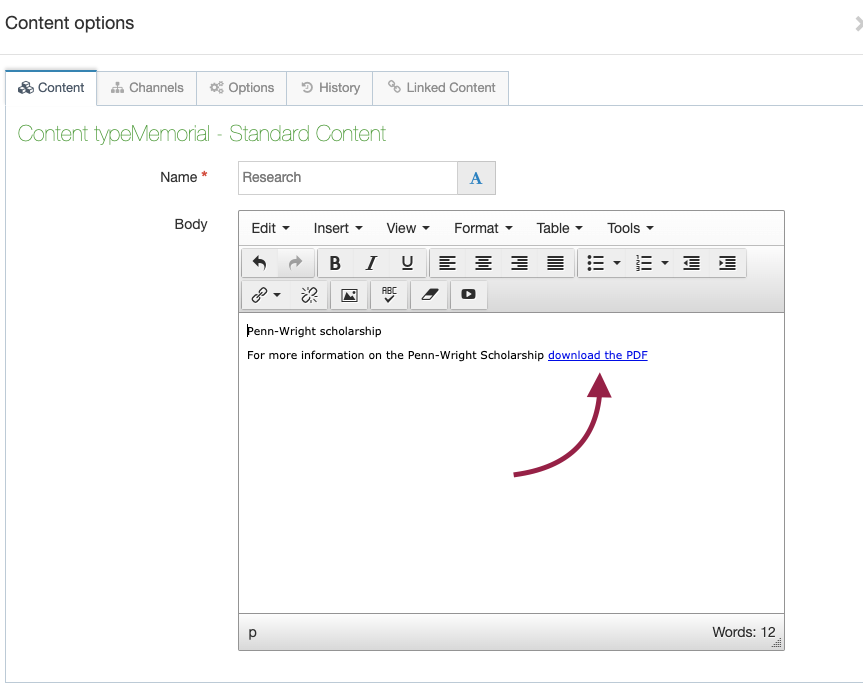
Your file link will now be embedded on your page
By default, the link will be the title of your file.
If you want to edit the text of the file link
To edit the text of the file link, double click on the link. Doing so will open a box with a single "name" field. Whatever you type here will replace your file link text.
Note: The field is very narrow, so you won't be able to see what you're typing.
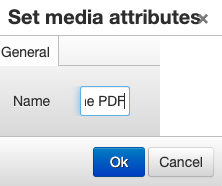
Click ok, and your link text will change:
Save & approve changes
To save your changes, hover your mouse over the top right hand corner of any block you were editing, and these controls will appear. Save is the blue button with the disk icon on it, and approve is the check mark icon. (If these options do not appear, it means your changes have already been saved and approved):
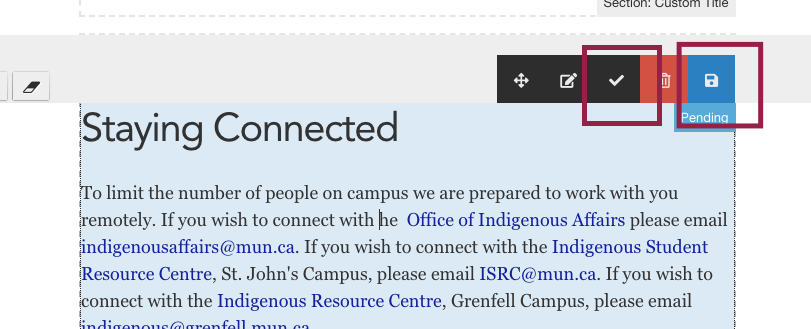
You must click save first, and then approve. Never click approve first, or your changes will be lost.
Only moderators can approve content. If you are a contributor, you will have to ask your moderator to approve your changes. Changes will only publish to your website if they're approved. Once changes to a page have been approved, your page will automatically be updated within 10 minutes.