Replace an existing banner
If you want to replace an existing banner on your page with a new banner, you do not need to delete the old banner content type and create a new one. You can simply update the banner image that is currently showing in your pre-existing banner content type.
To do so:
Locate the page in your site structure view, and click the blue "actions" button across from it.
Choose "Direct edit."

You will be taken to your direct edit view of your page
Locate the block that contains your banner:
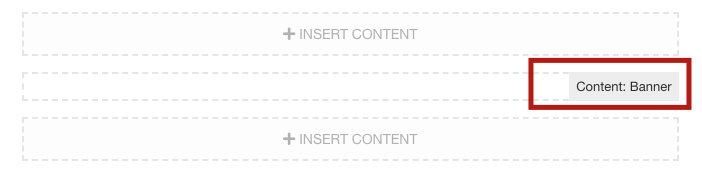
Hover your mouse over this block, and you will see options pop up.
Click on the edit icon; it's the pen-and-paper icon show here:

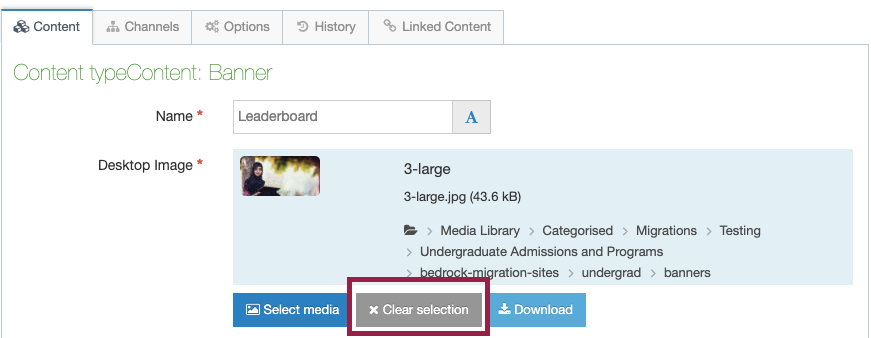
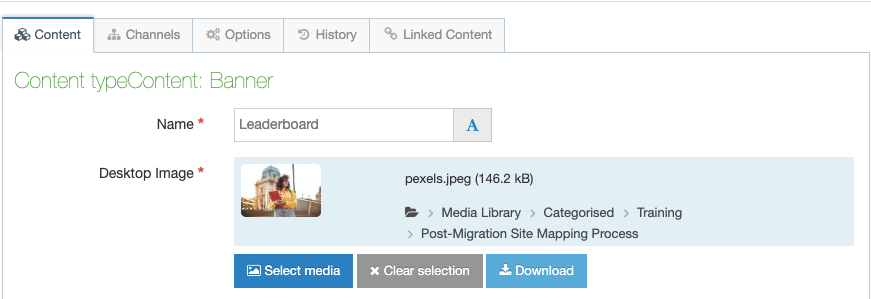
Click "clear selection" beneath your desktop and mobile images to remove the old banner image:
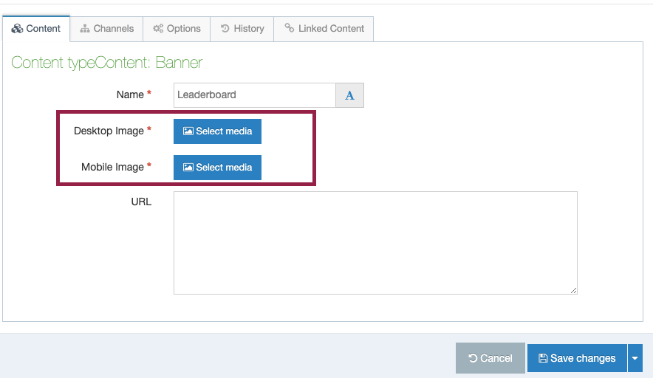
Click the blue select media button across from desktop image to upload a new banner image (then repeat this step for your mobile image):
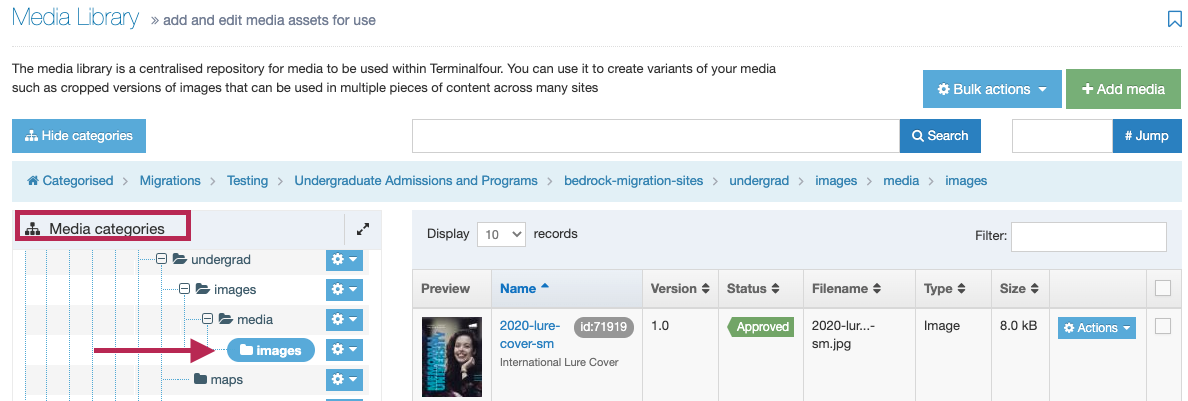
You will be taken to the media library screen (pictured below).
You must upload your banner image to your site's "images" folder.*
On the left-hand side of your screen, you will see a header “Media categories.” Using the +/- buttons to open folders, locate your site's "media" folder, and open the media folder to reveal your "images" folder. Click on the images folder so it is highlighted blue, and reveals its contents (as shown below).
*Some sites may have a more elaborate folder structure in their media library. If your site places banner images somewhere other than the images folder, be sure to upload your banner to that folder instead.
Once you have selected/highlighted the "images" folder,
click the green “+ Add Media” button:
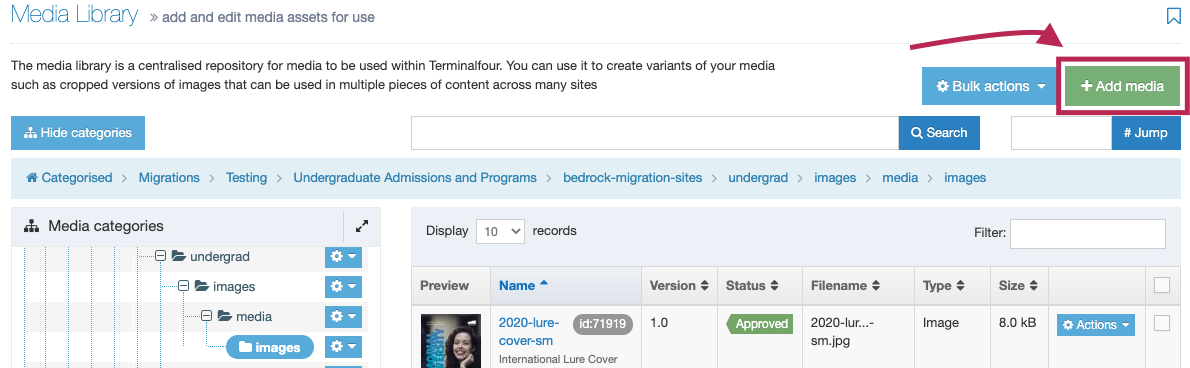
You will be taken to your media upload screen.
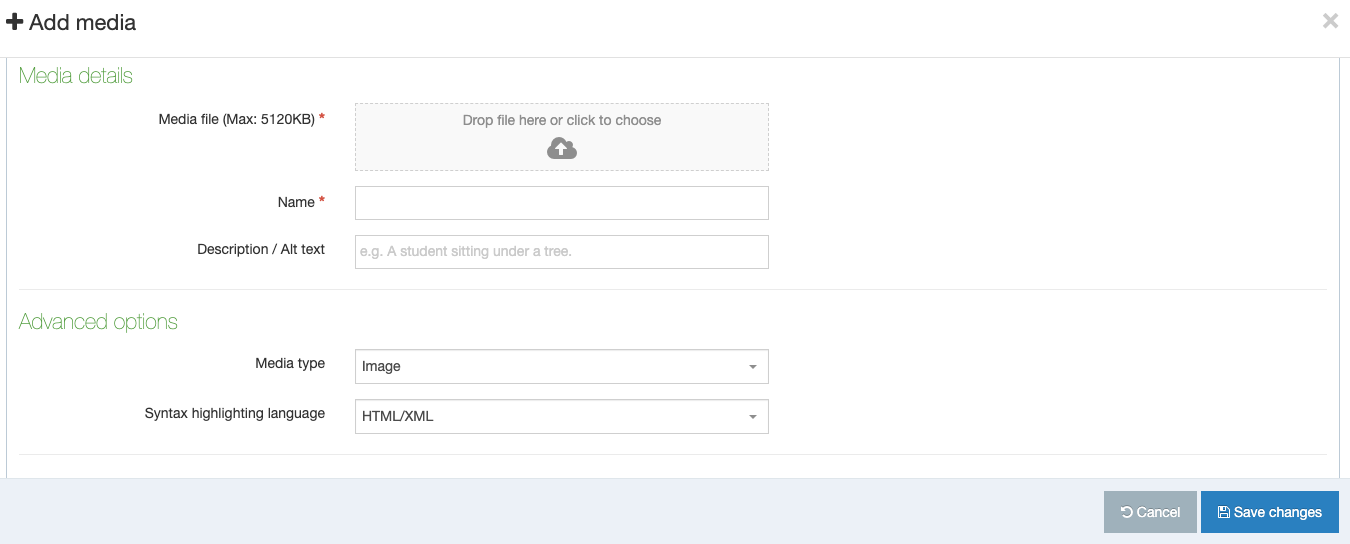
To fill out your 3 "media details" fields:
- Media File: To upload your image, drag and drop your image into this box or click the empty box and you will be prompted to upload an image from your computer. Reminder: your desktop image must be sized to 800px wide by 400px tall. and your mobile image 800px by 800px
- Name: You should name your banner as follows:
Banner - [a description of your banner image]. The description should help you and your fellow site users easily locate and identify the image later.
- Description / Alt Text: This is important for letting search engines and visually impaired users understand what the photo depicts. Describe your image in a single line, for example “Young brunette woman reading her laptop screen.” This text will also appear if your picture fails to load on a website, which can happen sometimes. Do not leave this field empty.
- “Advanced Options” Section: You can ignore this section and leave it as is, unless you know what you’re trying to do.
- Metadata Section: Enter a few keywords that would help search engine results bring users to your photo/website. Keywords can be a few words long, but you must separate keywords with commas. Example: Professor Jane Brown, Memorial University, Anthropology.
Click the blue “Save Changes” button to upload your image to your media library.
You will be taken back to your media library, because so far, you have only uploaded your banner to your library.
Now you must embed the banner you just uploaded.
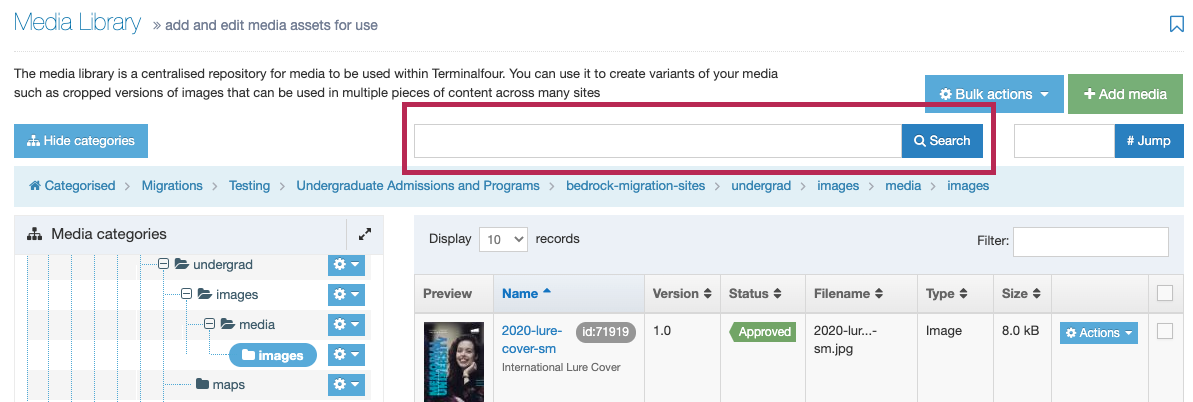
To locate your banner in your media library:
Your library lists your media in alphabetical order, so you can find it by scrolling through your library, or you can use the search bar to search for the image's title:
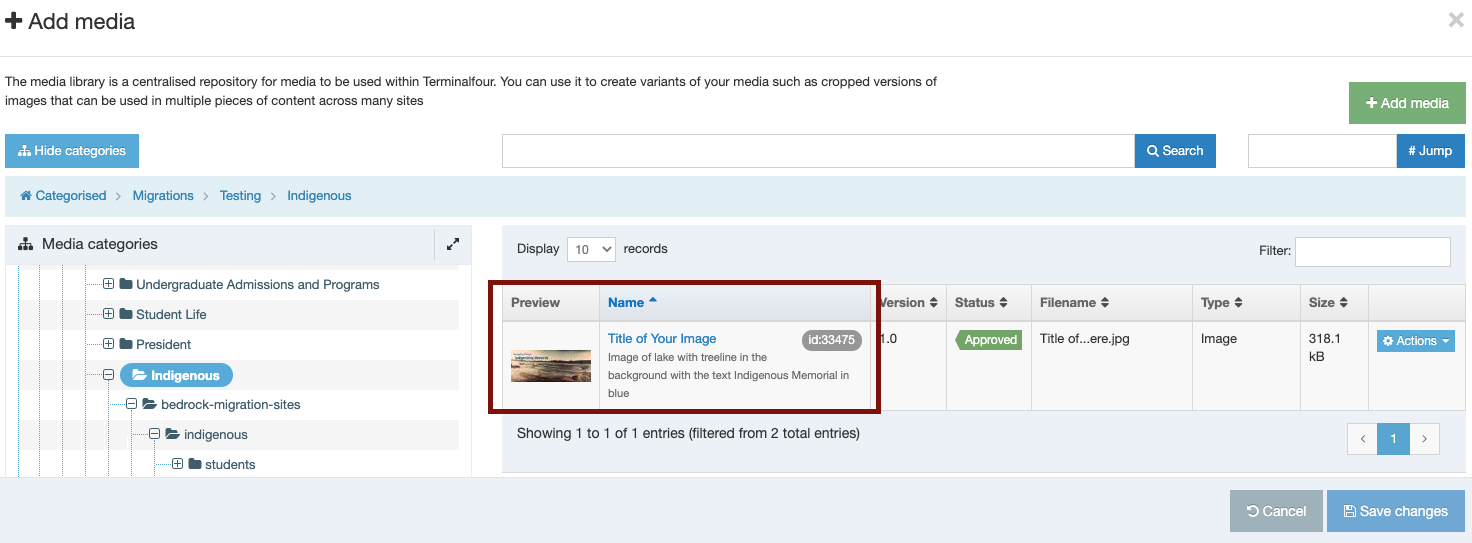
To embed your banner on your page:
Click directly on the image title to embed your banner.
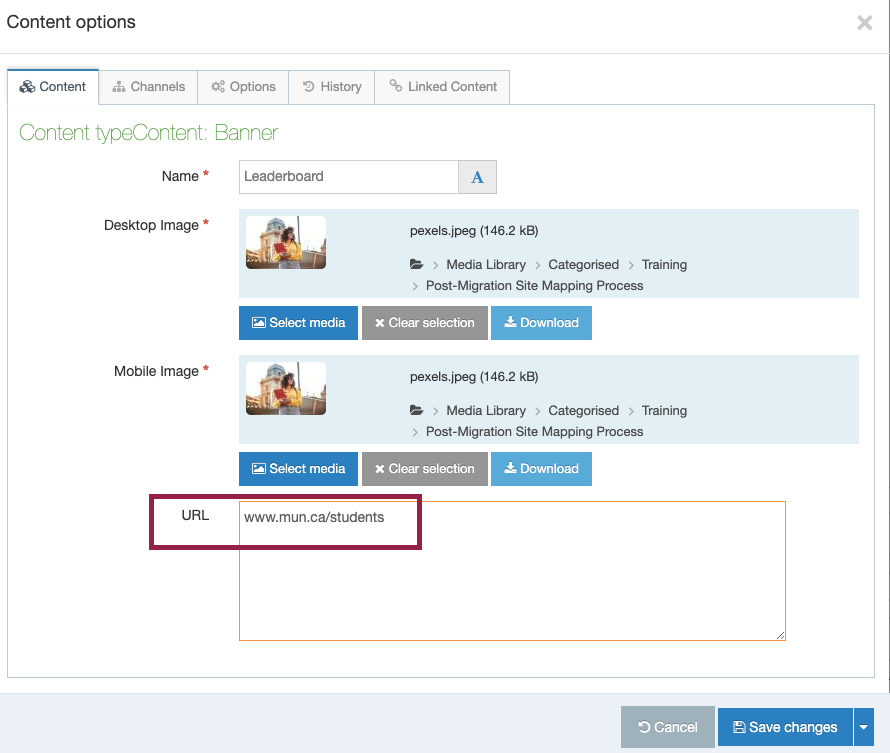
You have successfully uploaded your banner image, and you should see it in your banner upload screen:
Repeat this process to upload your mobile banner (which must be 800px by 400px)
If you want your new banner to link to a website, paste the URL in the URL box:
Don't forget to save, approve, and publish your changes so they appear on your website.