Add an image to your library
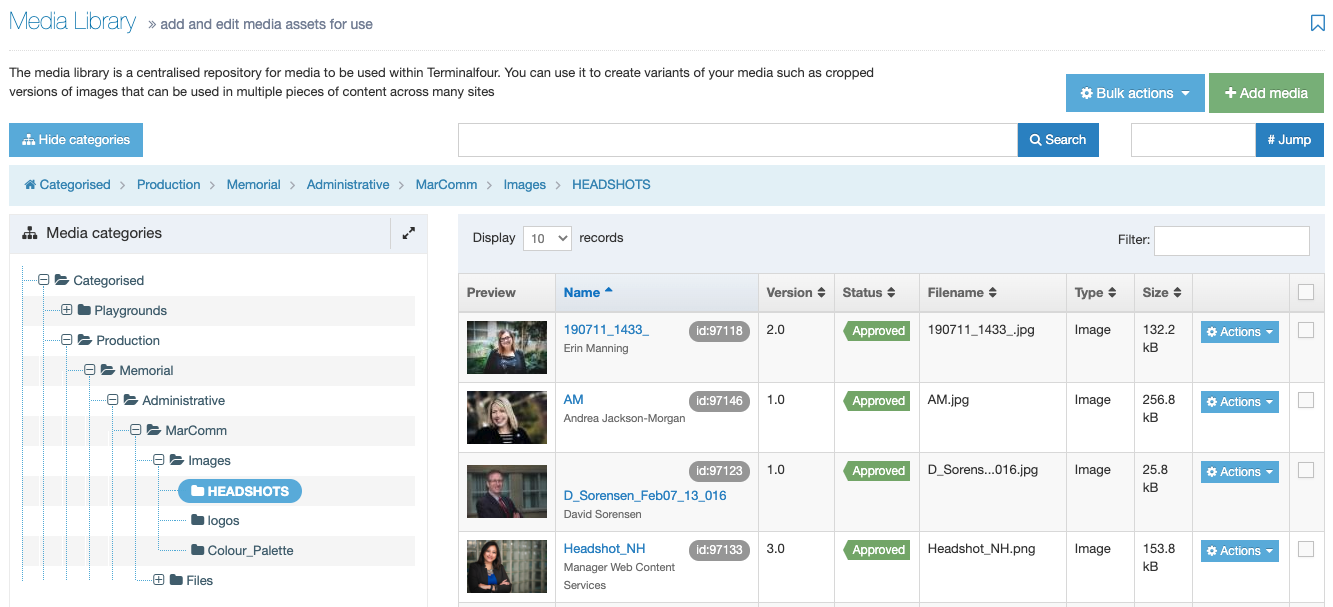
To add an image to your media library, locate the media library folder to which your want to add an image, and click directly on the folder.
Once you click on the folder, it will turn blue and reveal its contents on the right-hand side of the screen, as shown below:
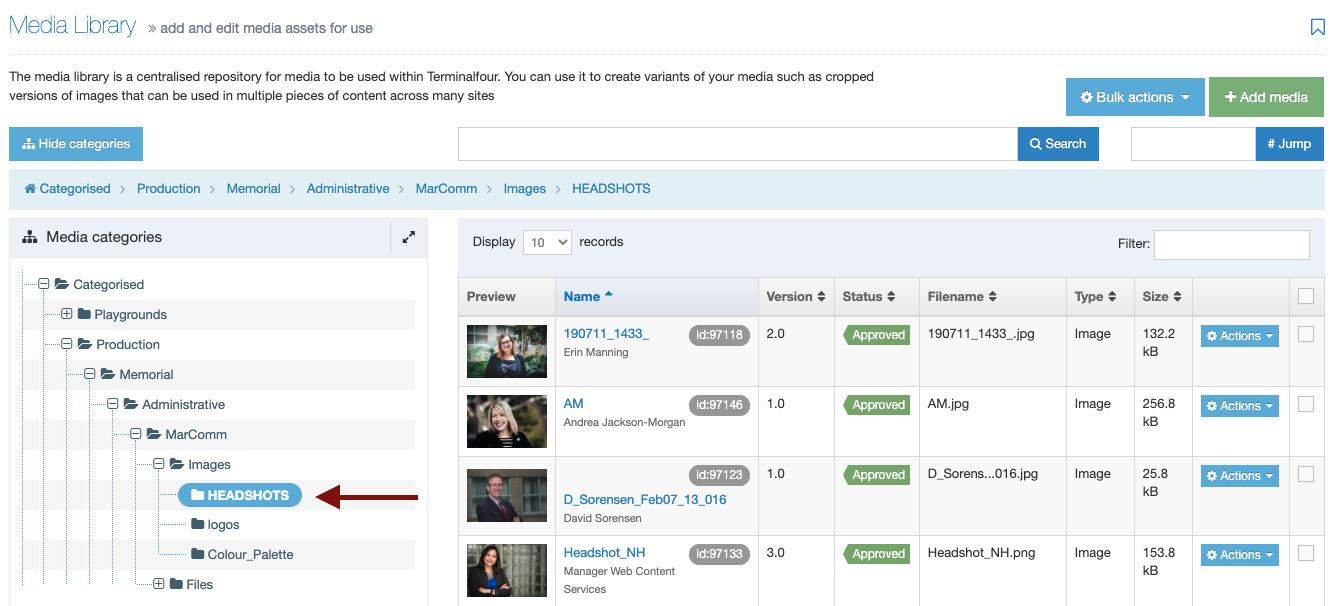
To add a new image to the folder you've chosen,
click the green "+Add media" button in the top left corner, as shown below:
You will be taken to the +Add media page, as shown below:
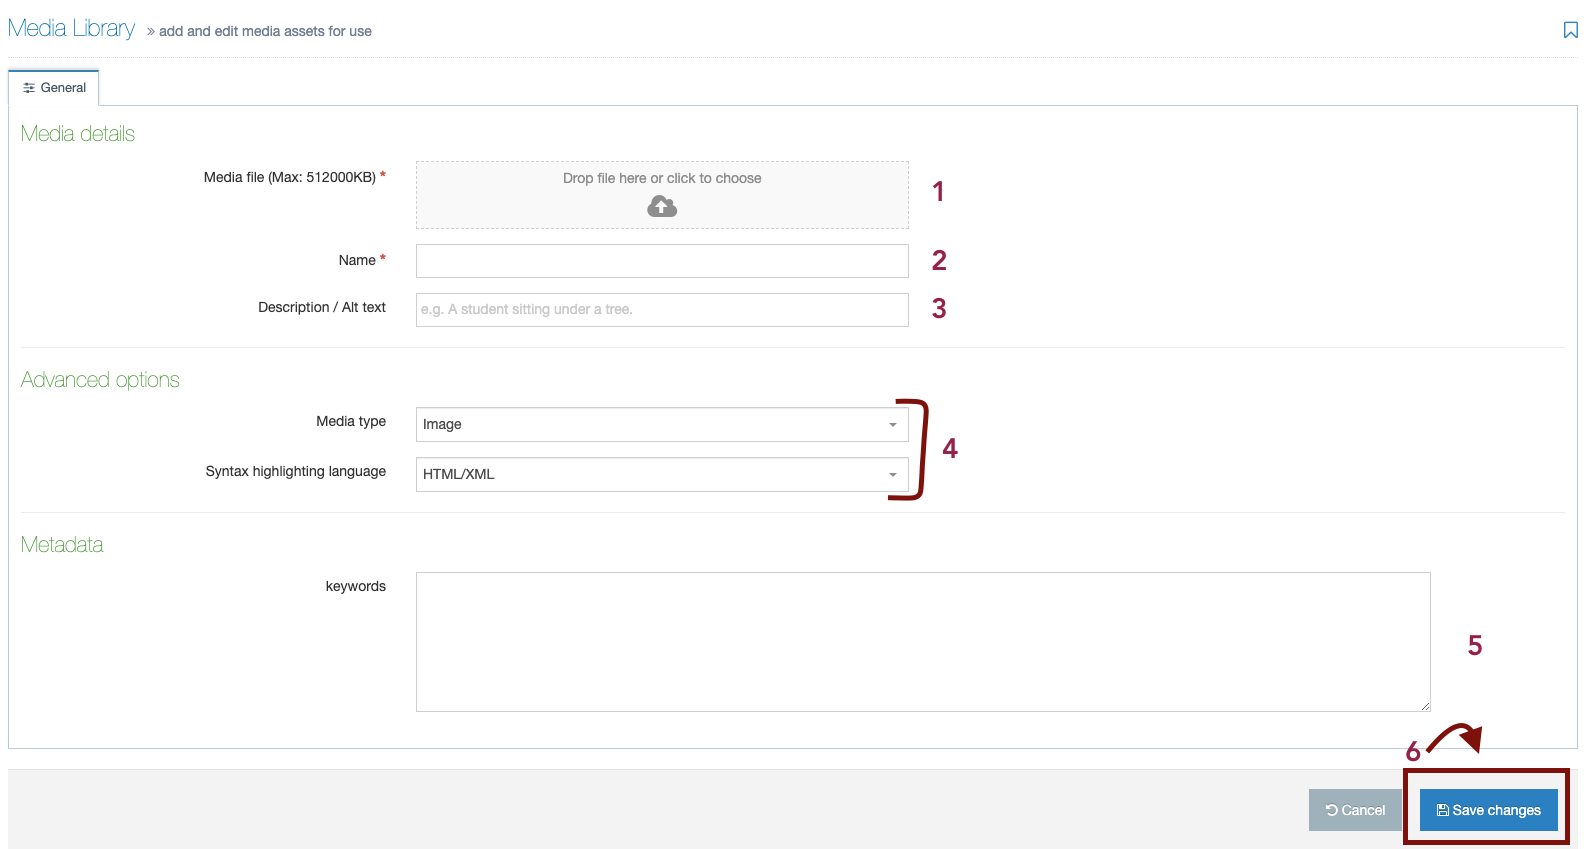
How to fill out these fields:
- Media File: To upload an image, you can either drag and drop the image into this box, or click in the "media file" box and you will be prompted to browse your computer to upload an image.
- Name: Whatever you type here will set the name of this image as it appears in your media library. Therefore, you should name your image something that will be easy for your and your website users to search for and find later, and something that will make sense to anyone who downloads this image. Image file names like "IMG_2206" are not good image names because users wouldn't know what to search for to locate this file in your image library. Choose something like "Dr. Jane Johnson 2021."
- Description / Alt Text: This is important for accessibility and SEO. It tells search engines and non-sighted users (or anyone using a screen reader to read your page) what the photo depicts. Describe your image to the best of your abilities in a single line. Example, “Young brunette woman peering into a microscope in a science lab.” This text will also appear if your picture fails to load on a website, which can happen sometimes.
- Advanced Options Fields: Ignore these and leave as they are.
- Metadata: Include some keywords that people may use when searching your media library (or using a search engine) to locate this image.
- Click the blue "save changes" button to save this image to your media library.
After you click save, you will be taken back to your media library: