Crop an image
Cropping an image allows you to remove any part of your image you don't want to display, as in the example below:

To crop an image in your media library:
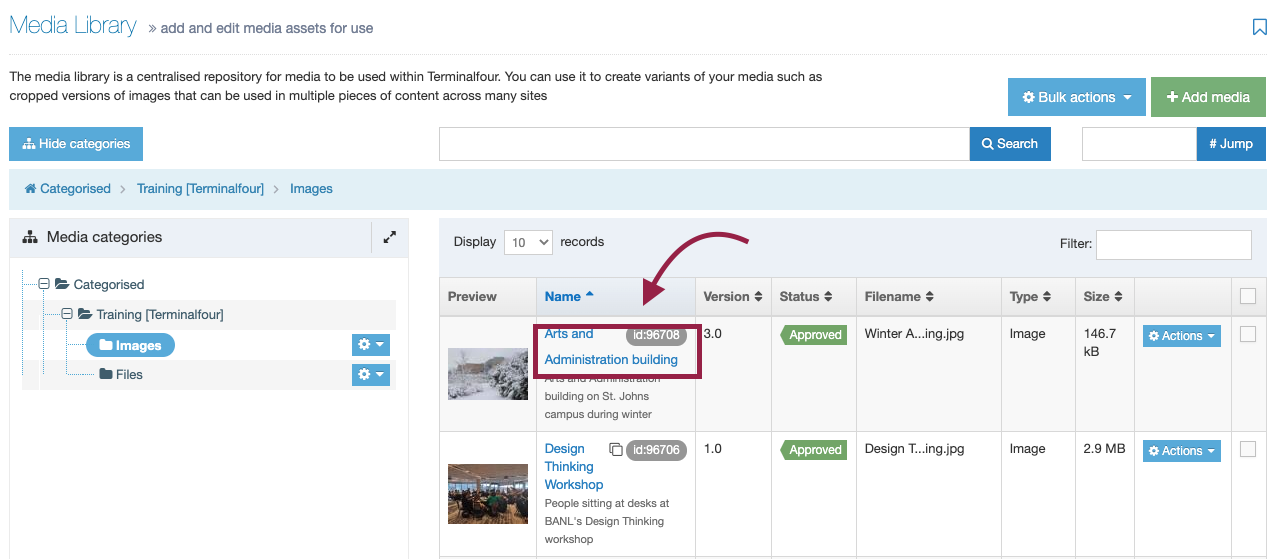
Click directly on the image title in your media library as shown in the image below:
You will be taken to the image editor, as shown below:
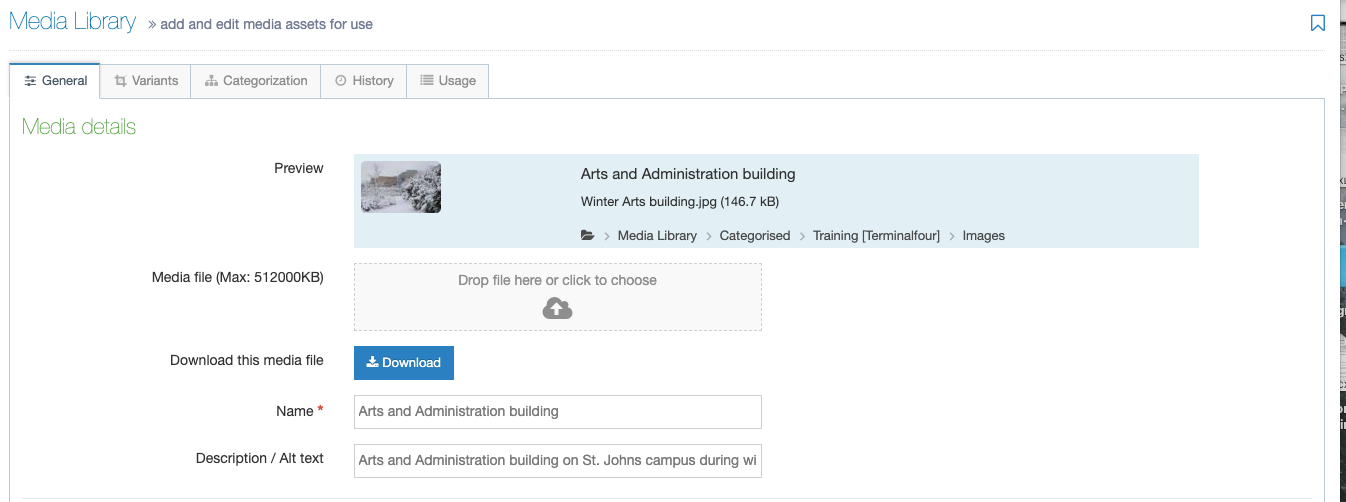
Follow the instructions below this screengrab:
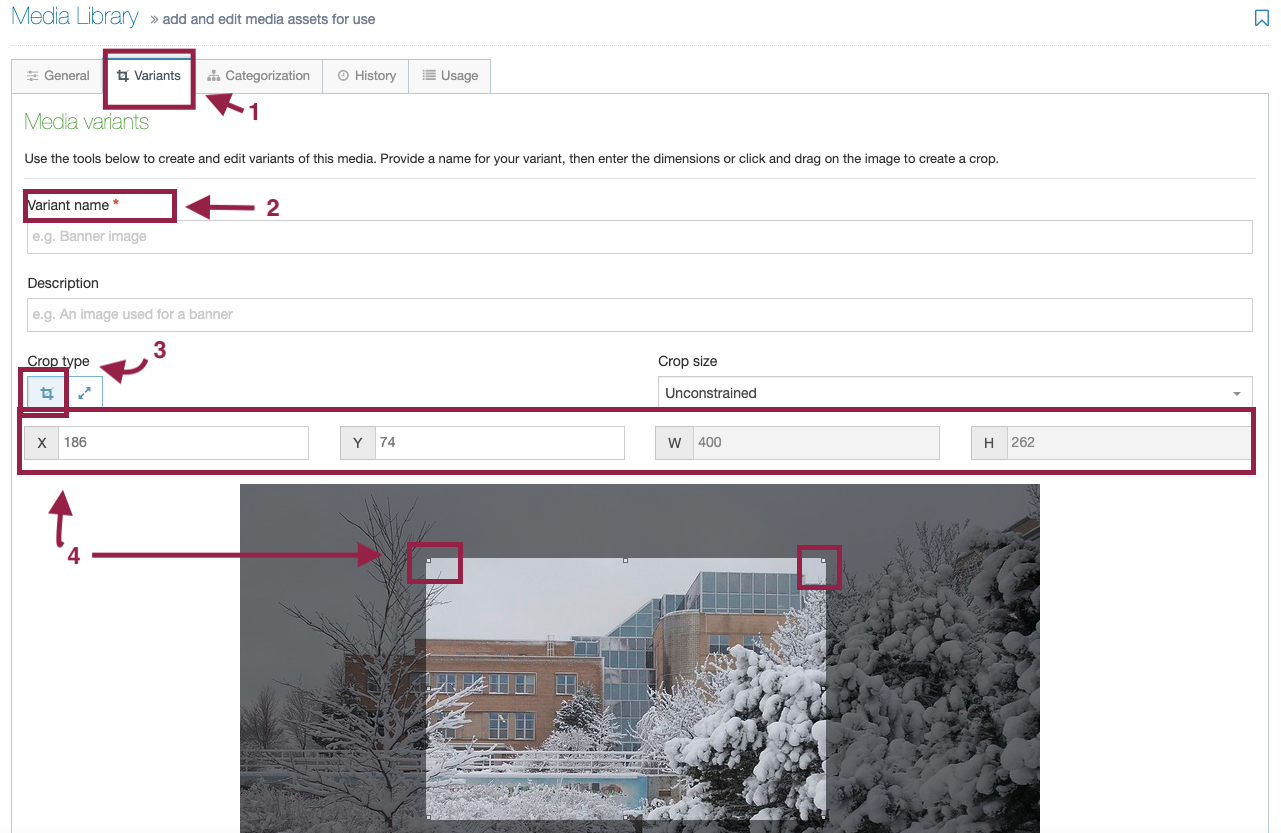
- Click the Variants tab to begin cropping your image.
- Variant Name: When you crop an image in T4, T4 will keep a copy of your original image and create a new "variant" of the original image. Therefore, you need to provide a name for your new image variant. For example, you could name your variant "Dr. White, Cropped to 400px." Your variant name will be seen internally only. You can also use the "description" field to further describe the variant image.
- Crop Type: Choose the "crop" option, as circled above.
- Crop Size: You can crop your image one of two ways: A.) Change the dimensions of the X,Y,W (width) and H (height) coordinates with specific numbers, or, B.) leave those fields alone and drag the small white squares around your image (circled below) to select and set your crop area.
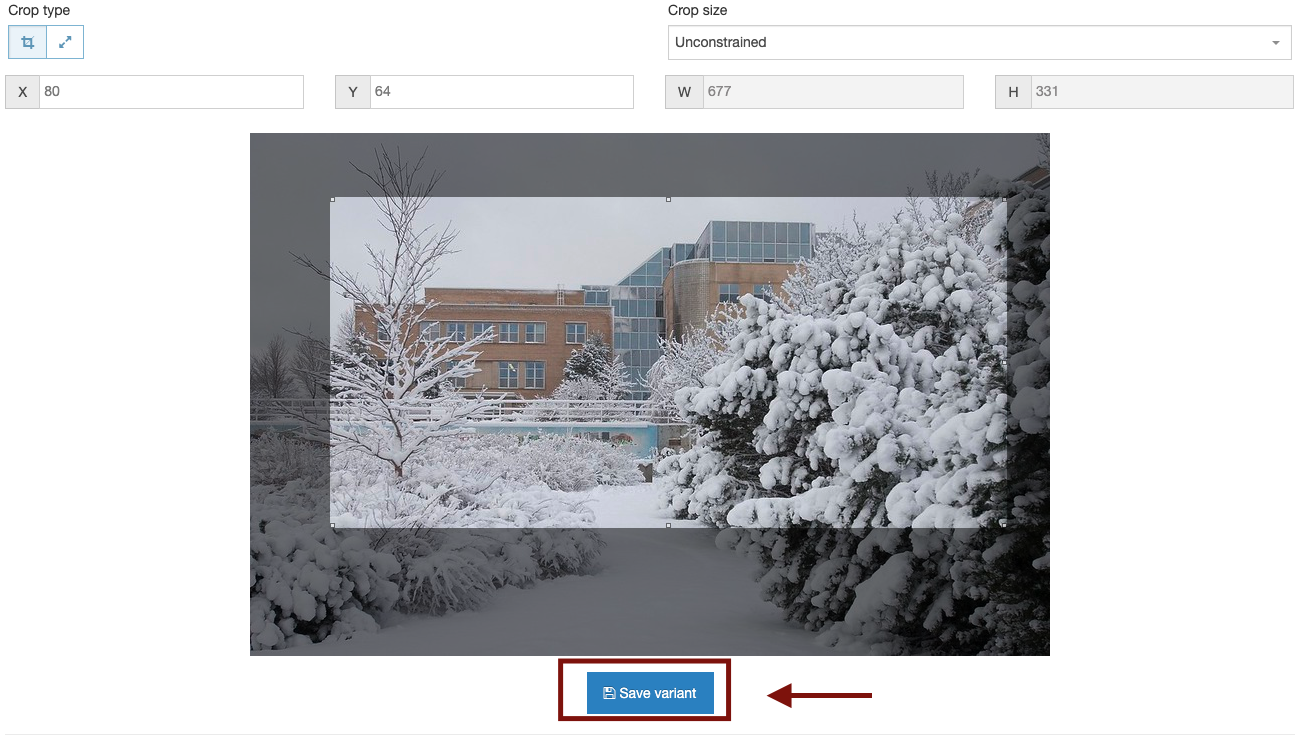
When you are done cropping your image, scroll down and click this "save variant' button, and you're done.
Using your new variant
Whenever you have an image with variants, and you embed this image on a page or into a content type, you will be shown a list of available variants for this image (such as original, cropped, resized) and asked which variant you want to embed. This is why it's helpful to name your variants something descriptive like "cropped."