Create a feature
Once Web Content Services has enabled your page for features, any features you create and save in your News Articles section will automatically and immediately appear in your features widget.
To add a feature:
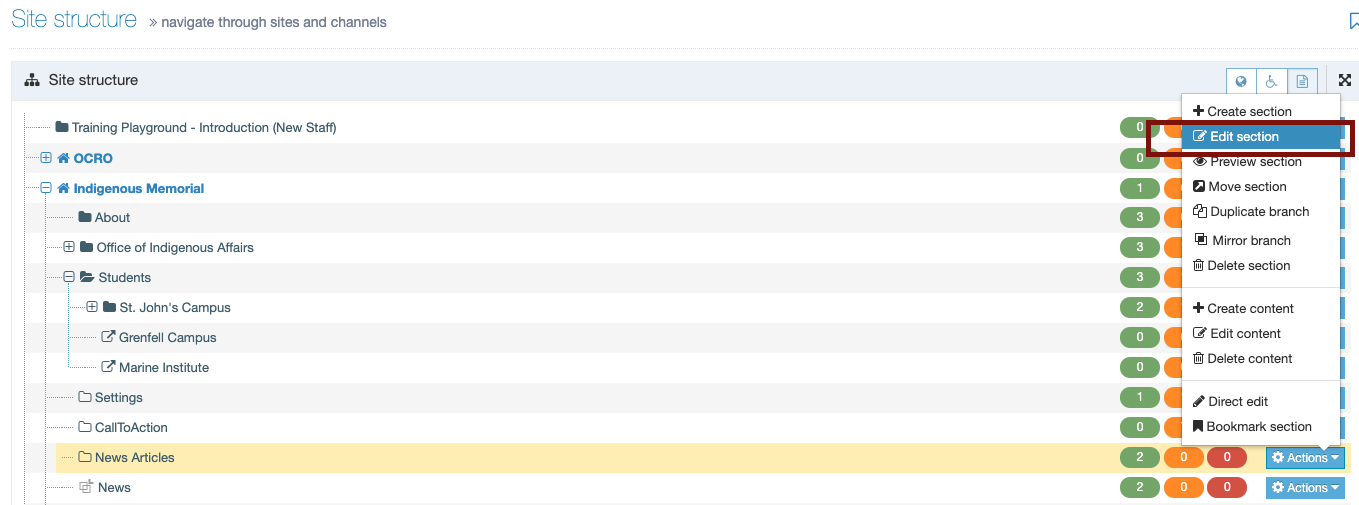
Locate the News Articles section in your site structure.
Click directly on the folder or the blue “actions” button across from it, and choose “edit section."
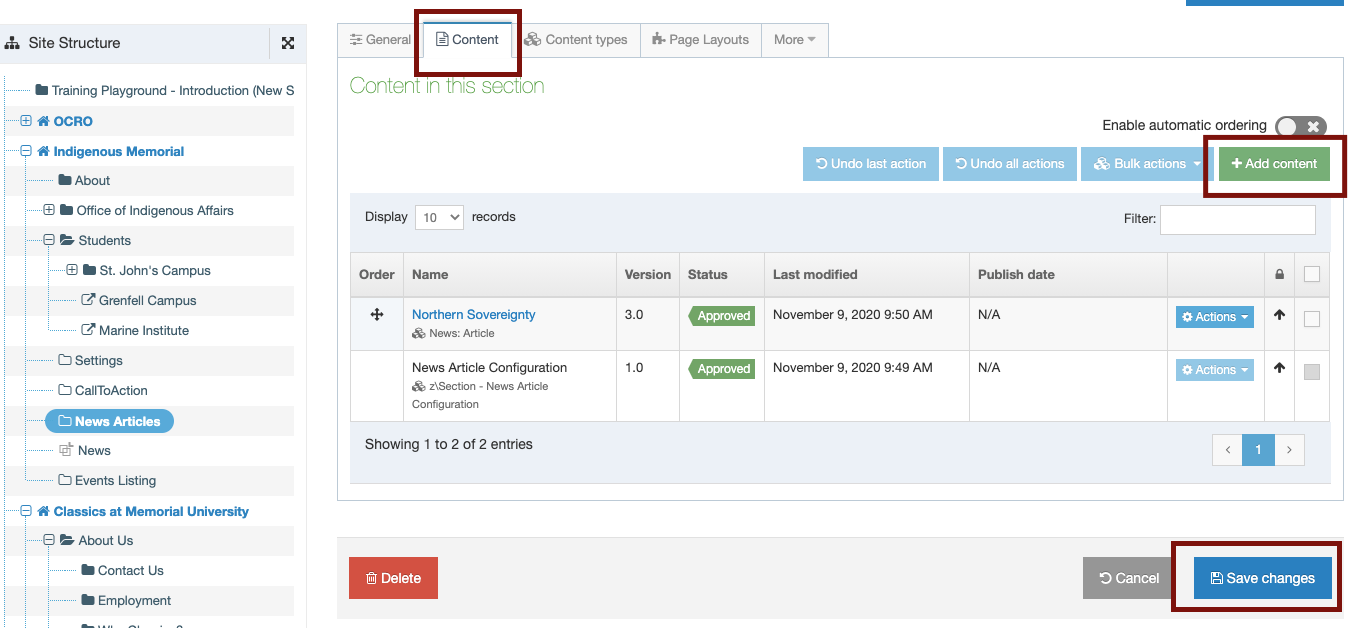
Click the “content” tab, and then, click the green “+ add content” button.
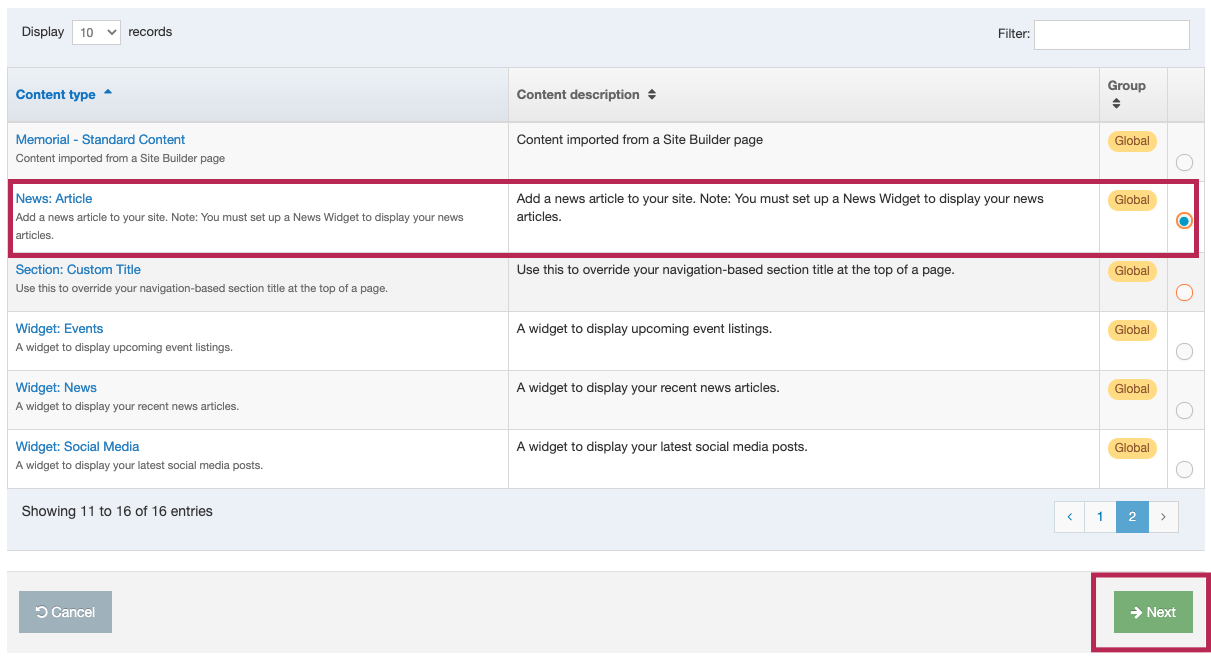
Locate and select the content type labeled "News: Article." You will modify your news article to be a feature in the steps below.
Then, click the green "next" button.
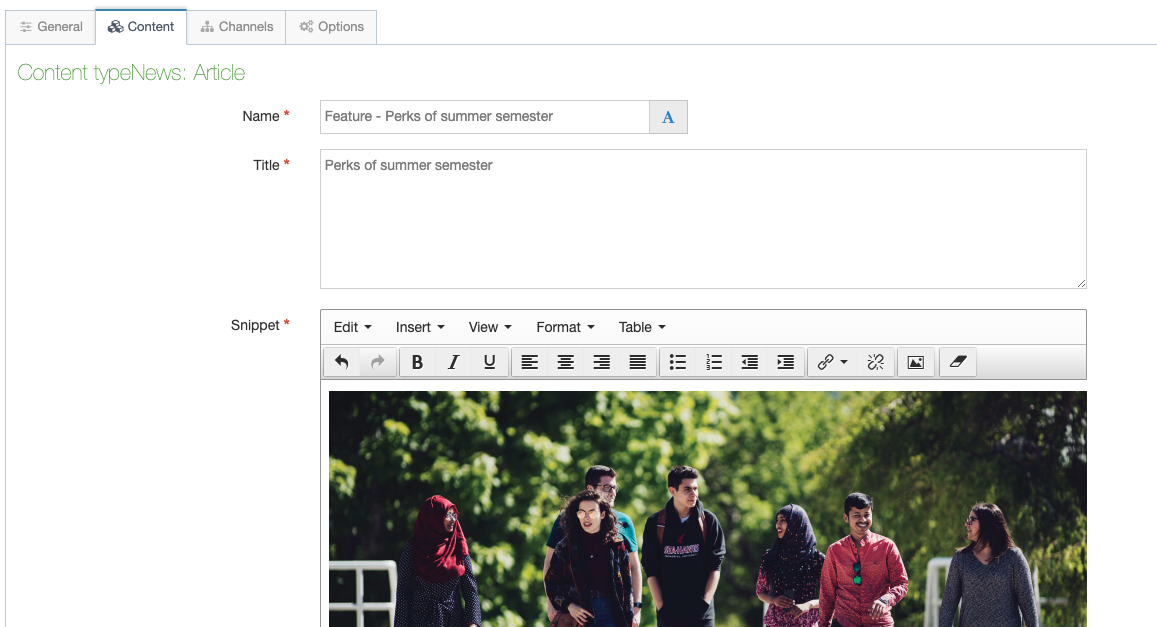
From here, you will be taken to your news article editor:
- Name: Your name is not public-facing, it is for internal reference and meant to help you and your site users to identify your features and news articles in the back-end of your site. You should name it: Feature - [title of your feature]
- Title: Type the title of your feature here. The title will appear directly above the feature in a large font on your site.
- Snippet: Whatever you type here will appear above the “Read More” button. You can also include an image or video in your snippet. It is a preview of your article, meant to entice someone to read the whole thing. This should be a 2- to 3-line summary of your article, or if that’s too difficult, choose the opening 1-3 lines of the article.
- Body: This is the main body (text and image area) of your feature. IE: this is where you type or paste your full story, and any images or videos.
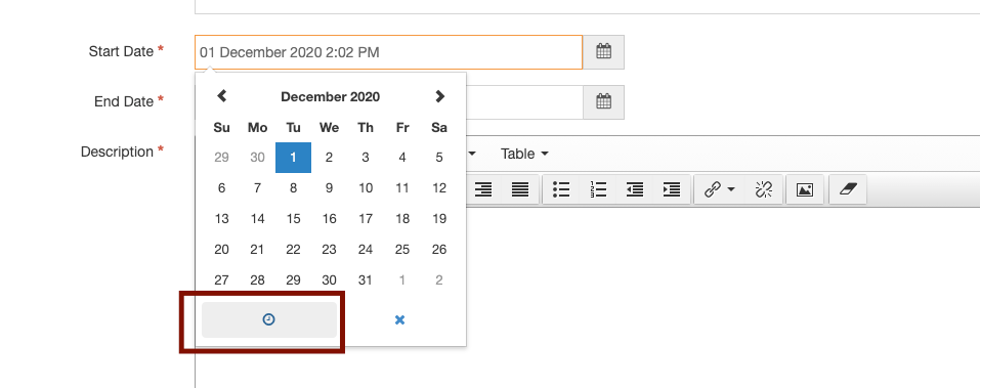
- Start Date: Click in the empty field and use the calendar picker to select the date you want your feature to go live on your website.
NOTE: You also set the event time in this field, by clicking the little clock icon:
- End Time: Set the date you want this feature to expire. If you don't want it to expire, set it several months down the road.
- Author: This is an optional field. Type the name of the author of the article here.
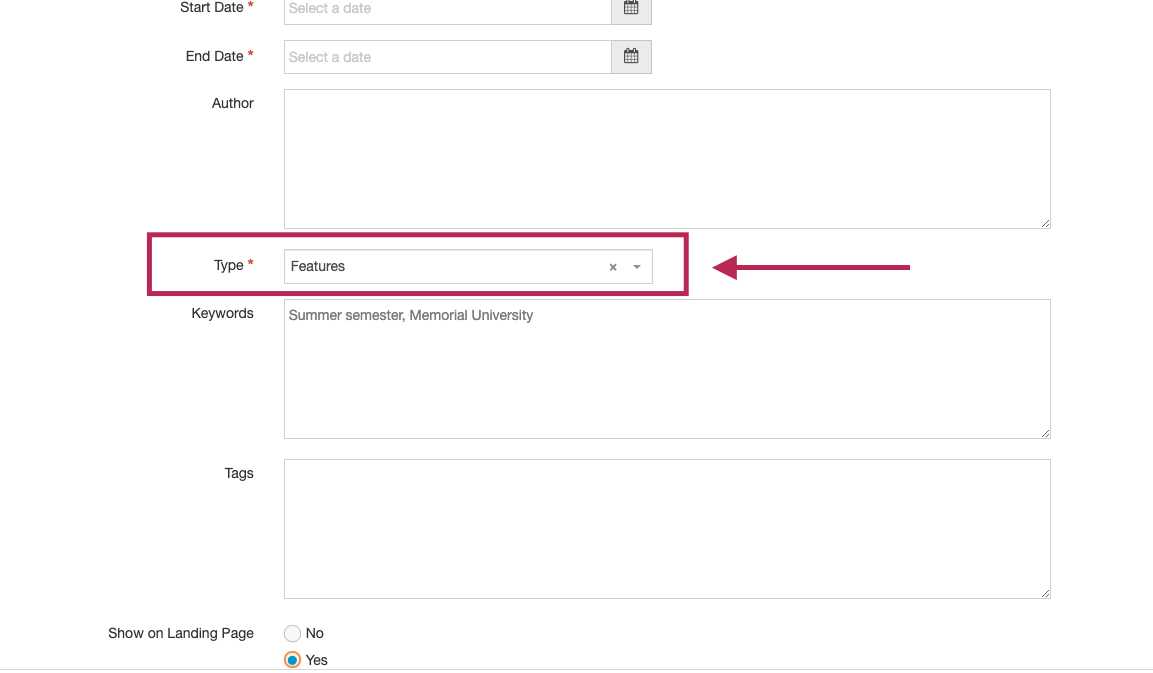
- Type: Use the dropdown menu to select "Features." This is very important. You must select Features as your type in order to distinguish this from a News Article. Otherwise it will appear in your news widget instead of your features widget.
- Keywords: Choose a few keywords that will help direct search engines to this feature story. Your keywords do not have to be single words, but must be separated by commas. (Example: Memorial University, Biology, Dr. Snow)
- Tags: You can choose to “tag” your features and news articles with a category name of your choosing that will group similar features/articles and suggest them to your readers as related content or recommended reads. For example, use the tag "student profiles" on any feature that profiles a student.
- Show on Landing Page: Choose yes, unless you have a reason for not wanting to display this feature story directly on your page.
To publish your feature:
If you are a contributor, click save changes and ask a site moderator to approve and publish your new feature.
If you are a moderator, save and approve your changes and wait up to 10 minutes for the feature to show. If it doesn't not show up, publish your News Articles section as well as your home page.