Create your individual grids
Once you have put in a request for an image grid to be added to your page, and you have confirmation that this has been completed, you can begin building your grids.
Each grid in your image grid is built separately; you build your grids one at a time.
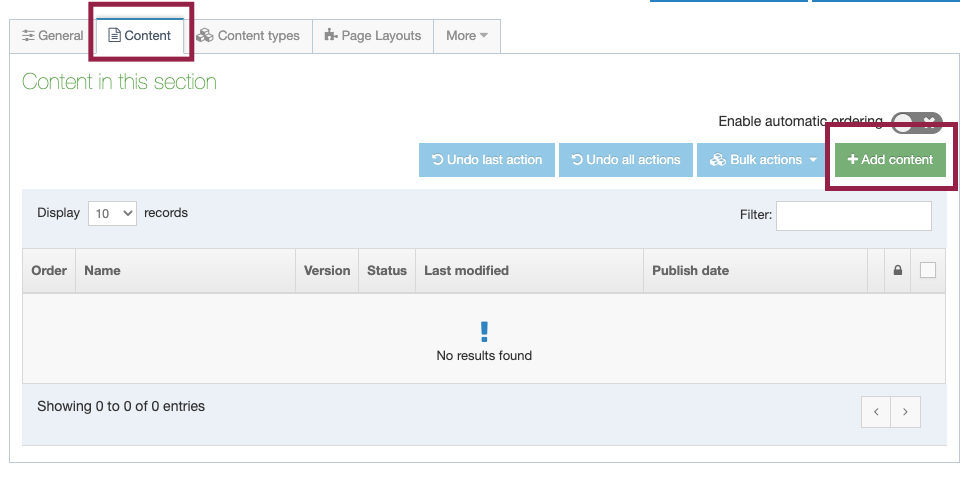
To begin, locate your "Image Grid Content" folder, and click directly on the folder.

Click the "Content" tab.
Now, click the green "Add content" button.
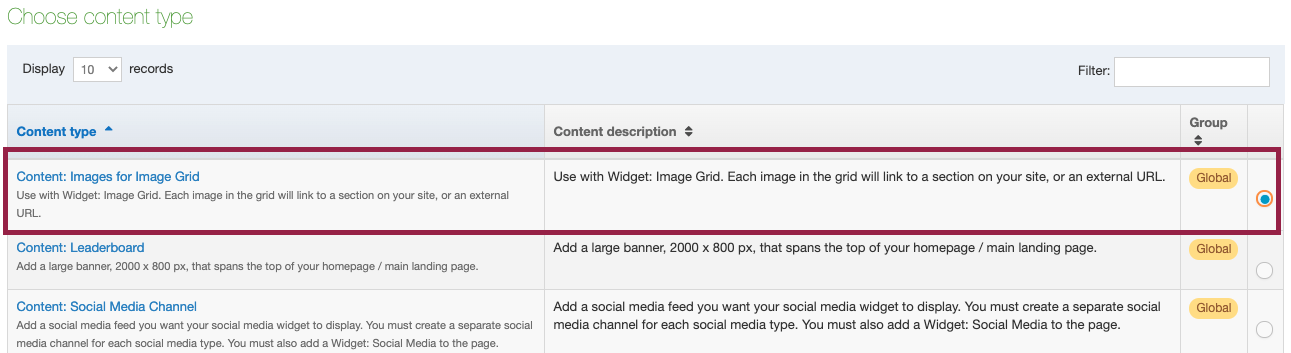
Locate and select the content type, "Content: Images for image grid" and click the green "Next" button at the bottom of your page.
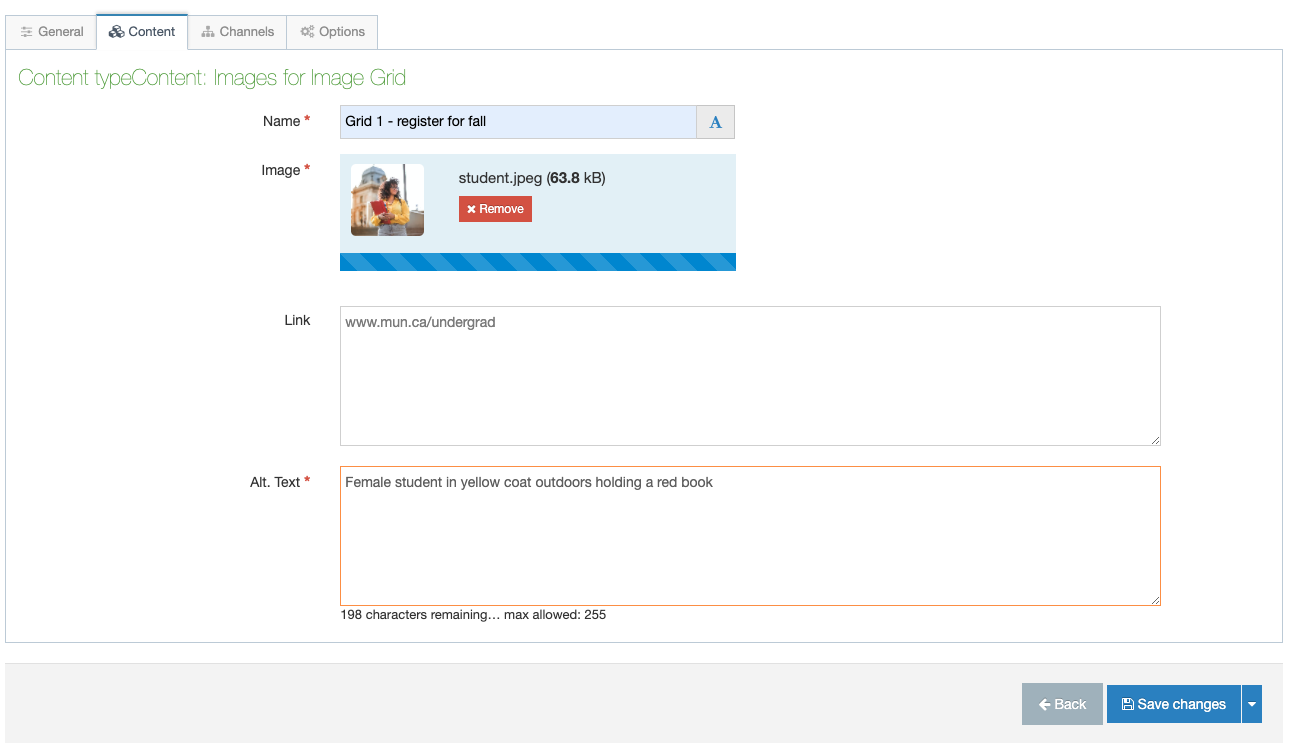
You will be asked to fill out the following fields:
Name:
Your name should include which grid this should be, and a brief description of the grid. Ex: Grid 1 - online course offerings
Image:
Upload the image you want to use for this grid.
Note: the image must be exactly 370 by 370px and the filename must be at least 2 characters long. Make sure your images are not named "1" "2" and so on, or you will get an error.
Link:
Insert the URL of the page you want users to be taken to when they click on this image.
Alt Text:
This is for people reading the page with a screen reader, such as a visually impaired site visitor. Enter a description of where the visitor will be taken if they click this grid.
Repeat this process to create as many grids as you want in your image grid.
Don't forget to save, approve, and publish your changes.
Once you have created all of your individual grids, you will need to place an image grid widget on the page where you want to display your image grid.
The widget will then haul all of your individual grids together to build a grid.